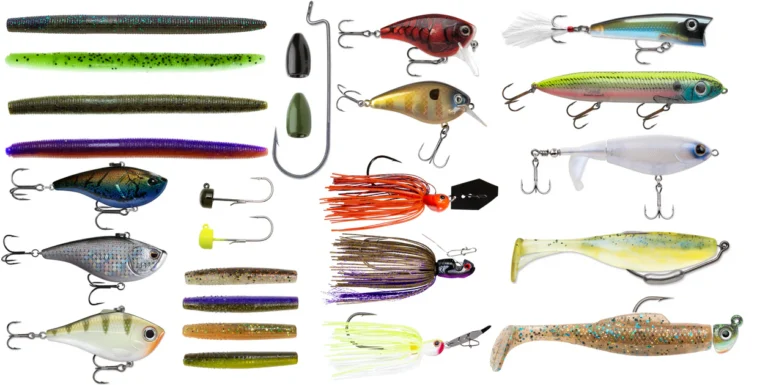
More and more people are learning how to make fishing lures at home. This is true for fishing fans. Crafting your own lures can be both fun and useful. And it’s easy to get the materials you need.
This tutorial shows you how to start with the basics. You’ll use simple tools and find materials easily. It’s all about being careful and patient. By using designs that are already proven, you make something that works well from the start.
It’s about measuring well and being very careful with each step. Making lures takes time because you let things like glue dry. This careful work is what makes your lure look good and work well.
Key Takeaways
- Making your own lures is getting more popular because it’s hands-on.
- For a good start, use simple tools and materials.
- Be precise and patient with each step, especially the finish.
- Starting with proven designs is smart for making lures that work.
- Making lures today means waiting for certain parts to dry, so be patient.
Introduction to DIY Fishing Lure Making
DIY fishing lure making is a fun and smart hobby. It’s all about being creative and making things your way. This hobby lets anglers create their bait. They make it just right for the fish and their own fishing style. With practice and the right tools, making your lures is very fulfilling. It makes fishing even more fun.
Why Make Your Own Fishing Lures?
Making your own lures lets you make them just the way you want. You can design lures to catch the fish in your area. This gives you an advantage compared to store-bought lures. You can also play with different shapes, sizes, and colors. This might help you catch more fish.
Benefits of DIY Lure Crafting
Creating your lures brings more than just personalization. It’s exciting and fulfilling when you catch fish with a lure you made. Plus, it can save you money over time. Durable homemade lures made from wood or silicone last a long time.
- Cost Efficiency: Crafting lures at home can be more budget-friendly in the long-term.
- Custom Designs: Personalized to fit specific local fishing conditions.
- Material Experimentation: Opportunities to try different materials such as basswood, red cedar, or Superflex silicone rubber.
- Fun and Creative: Provides a creative outlet and the joy of crafting something unique.
- Quality Control: Ensures high standards in lure construction, using superior materials like EagleClaw hooks and precise waterproofing techniques.
You can make homemade lures from various materials, like wood or silicone. Put a clear coat on them to make them last. Using silicone for molds, like Superflex, is also safe. It saves you money by not needing special tools.
DIY lure making deepens your love for fishing. It turns fishing trips into exciting adventures. Each fish you catch feels extra special because you made the lure. This hobby is not just fun, it’s also a valuable skill you can be proud of.
Essential Tools and Materials for Lure Making
Starting to make fishing lures means getting the right tools and materials. It’s key to have the best balsa wood, and the right pliers. These help you make lures that work well and look good.
Basic Tools You’ll Need
For making lures, having the correct tools is essential. Here is what you’ll need:
- Craft knife
- Wire-cutting pliers
- Cardboard box for organizing
- Airbrush
- Sandpaper
- Hacksaw blade
Each tool is important for crafting your fishing lures. A craft knife is great for getting exact shapes from balsa wood. An airbrush helps add fine details with paint.
Common Materials for Homemade Lures
Choosing quality materials is a must. This ensures your lures last and work well. Here’s what you should look for in materials:
- Balsa sheets for making a 50-mm BFS Flat-sided Minnow
- Steel wire with a 0.7-mm diameter
- Glass Fibre G10 FR4 Glass epoxy cloth board plate (0.8-mm thick)
- Different sizes of split shot (BB and No.4)
- VMC big-eye hooks in Size 10 and Size 8
- 3-D lure eyes with a 4-mm diameter
- Water-based pre-thinned acrylic airbrush paint by Vallejo
- Cellophane from food packaging
- KBS Diamond Finish Clear for topcoat
- Superglue and aluminum insulation tape for assembling and detailing
- Water-resistant super glue
By putting together a kit with these items, anyone can start making lures. Using these materials right will make your lure making better and more fun.
| Tool | Use |
|---|---|
| Craft knife | Shaping lures |
| Wire-cutting pliers | Working with wire |
| Airbrush | Painting details |
| Sandpaper | Smoothing surfaces |
| Hacksaw blade | For tougher cuts |
| Material | Use |
| Balsa sheets | For light minnow bodies |
| Steel wire (0.7-mm) | Holding lures together |
| Glass Fibre G10 | Makes strong bases |
| Split shot weights (BB and No.4) | Helps adjust the lure |
| VMC big-eye hooks | Needed for catching fish |
Know what tools and materials to use. Then, start making your own fishing lures. You’ll be ready to make great baits with skill and creativity.
Popular Types of Homemade Fishing Lures
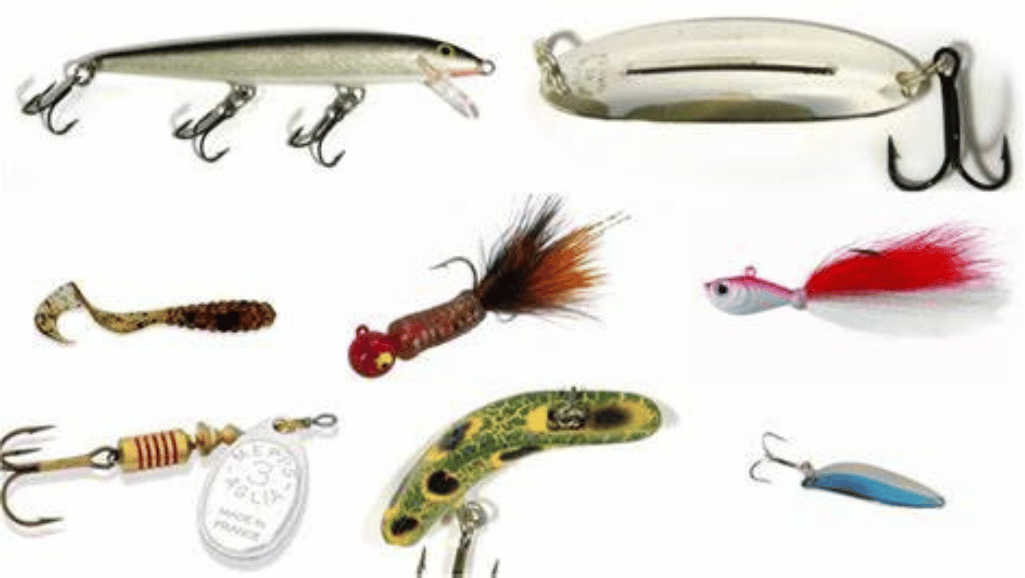
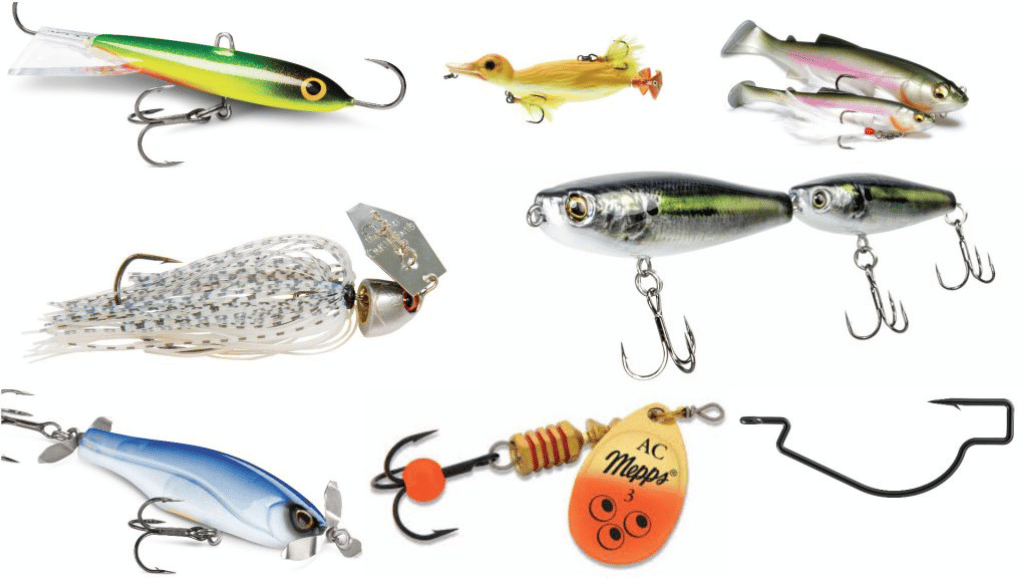
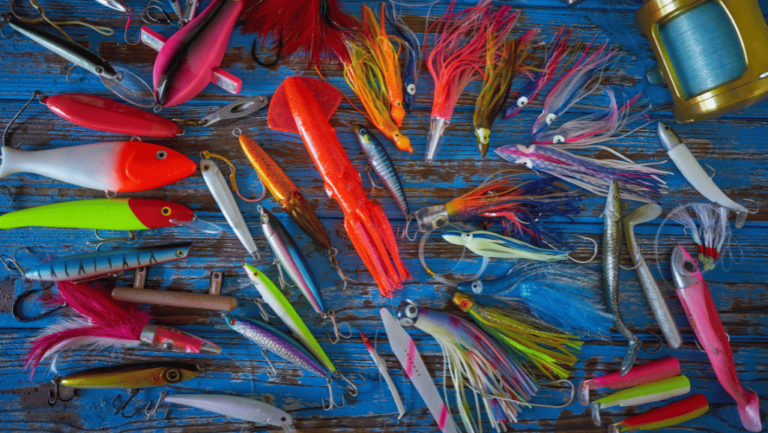
Homemade fishing lures come in many styles, each for different fish and places to catch them. If you love making your own fishing lures, you might enjoy making a flat-sided minnow or a suspension jerk bait. These are both very good at catching fish.
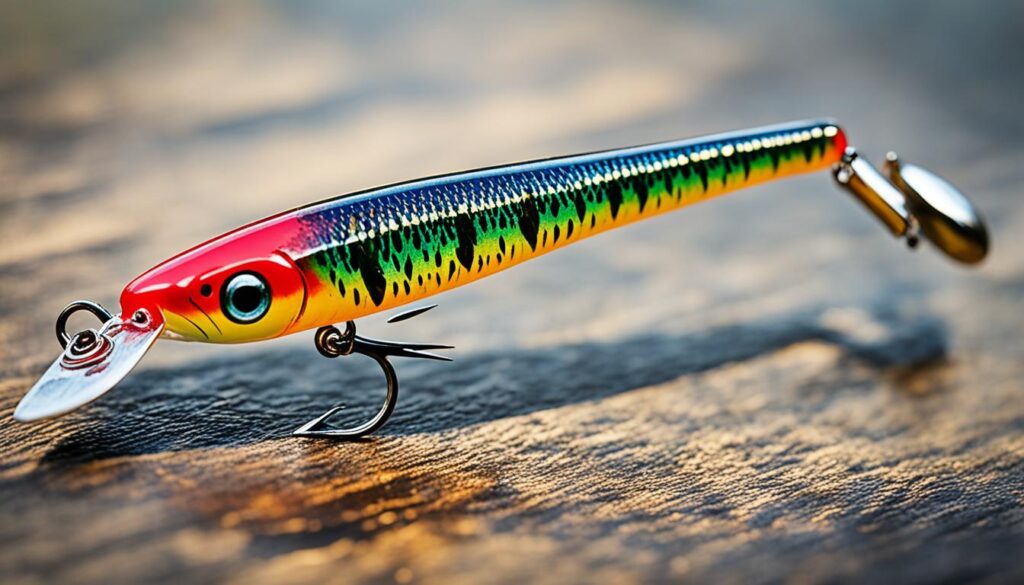
The BFS Flat-sided Minnow is made from thin balsa wood sheets. It floats well and moves naturally in the water. This type is great for fish that like to hunt, such as bass and pike. There is also the 50-mm suspension jerk bait, a favorite from Japan. It was tweaked to work better by Haru834, who shortened it to 50 mm.
To make your lures, you’ll need some simple stuff. This includes thin steel wire, a special varnish, and a tough board. You also need weights to make sure the lure sinks right, and special hooks to catch the fish well. Lure eyes and color paint make them look real.
Tools like a sharp knife, pliers, and sandpaper are must-haves. You’ll also need an airbrush for painting and some care to put everything together right. Plus, you’ll need a few other tools to make your lures detailed and strong.
Making lures takes time, because you must wait for things to dry well. But making a few at the same time is a smart way to do it. With patience, you can make lures that look and work as good as the ones in stores.
| Lure Type | Materials | Tools |
|---|---|---|
| BFS Flat-sided Minnow | 3-mm balsa sheets, nitrocellulose lacquer, steel wire | Craft knife, pliers, sandpaper |
| Suspension Jerk Bait | 0.7-mm steel wire, G10 FR4 Glass epoxy, split shots | Leather punch set, junior hacksaw blade, airbrush |
Step-by-Step Guide: How to Make Fishing Lures
Creating fishing lures starts with getting your workspace ready and following safety rules. Paul G and online guides give you templates and tips to make great lures. This step-by-step guide will help you make lures that work well.
Preparing Your Workspace
Choose a spot with good light just for making lures. You’ll need a spot for your tools and materials. Tools like a craft knife and wire-cutting pliers are common. A cardboard box for painting can be useful too.
Safety Measures
Staying safe is very important. Wear safety glasses and a mask to keep dust and fumes away. Working in a well-ventilated area is a must. Have a first aid kit close for any accidents.
Designing Your Lure Template
Start by picking or making a lure template. You can draw it on cardboard. Cut it out and smooth the edges with sandpaper. Make sure to measure well for a true copy.
Cutting and Shaping the Lure Body
To make a 50-mm BFS Flat-sided Minnow, cut balsa wood into shape. Use a craft knife and sandpaper for this. Be sure to glue your pieces with water-resistant glue properly.
Adding Hardware: Hooks and Split Rings
Next, add hooks and rings. Use wire-bending pliers for this. Make sure to use the right size and type of hooks. Adding weights will help the lure work well.
Finishing Touches: Painting and Sealing
Now, make your lure look good and last long. Use an airbrush to paint fine details. After painting, seal your lure with clear coat. Wait a day between coats to dry properly.
Adding 3-D eyes makes your lure more lifelike. Tie fishing line to the eyelet for hanging while it dries. This helps the lure dry evenly.
Follow this step-by-step lure making guide for your own top fishing lures. Making lures with care ensures they work and look good. Enjoy making lures for your fishing trips.
Crafting Soft-Plastic Lures
Many people love to make their own soft-plastic lures. They are effective and fun to create. Making them gives fishermen a great feeling of achievement.
Necessary Equipment for Soft-Plastic Lures
Crafting soft-plastic lures is fun, but it needs to be done carefully. You must wear leather gloves, a mask, and safety glasses. Don’t forget to work in a place where there’s plenty of fresh air. This is all to keep you safe and make sure your lures turn out just right.
Creating Soft-Plastic Molds
First, you need to get everything ready for making the molds. You can use different stuff to make the molds like plaster, resin, and silicone. Most people use Plaster of Paris (POP) because it’s cheap and easy to get.
To make the mold, you put your bait in a box and pour the POP around it. Let it sit until it’s hard. It’s very important to use high-temp epoxy to seal the mold. This stops the liquid plastic from leaking out.
Colorizing and Customizing Soft-Plastics
Now for the fun part, adding color and special touches to your lures. You can mix liquid Plastisol with different colors and types. This lets you make your lures look and smell just the way you want.
If you want your lures to smell nice and keep their shape, you can put worm oil on them. Don’t forget to let them dry standing up for a day or two. This helps the oil soak into them and keeps them in good shape.
Your lures can be very unique with all the color options available. They can be just as good as the ones you buy in a store. The best types of lures are the ones you can change and move around, like JoeBaggs Tackle SPJ’s.
You can even add salt to your lures to make them float or sink just right. This makes your lures work better and catch more fish.
Making Wooden Fishing Lures
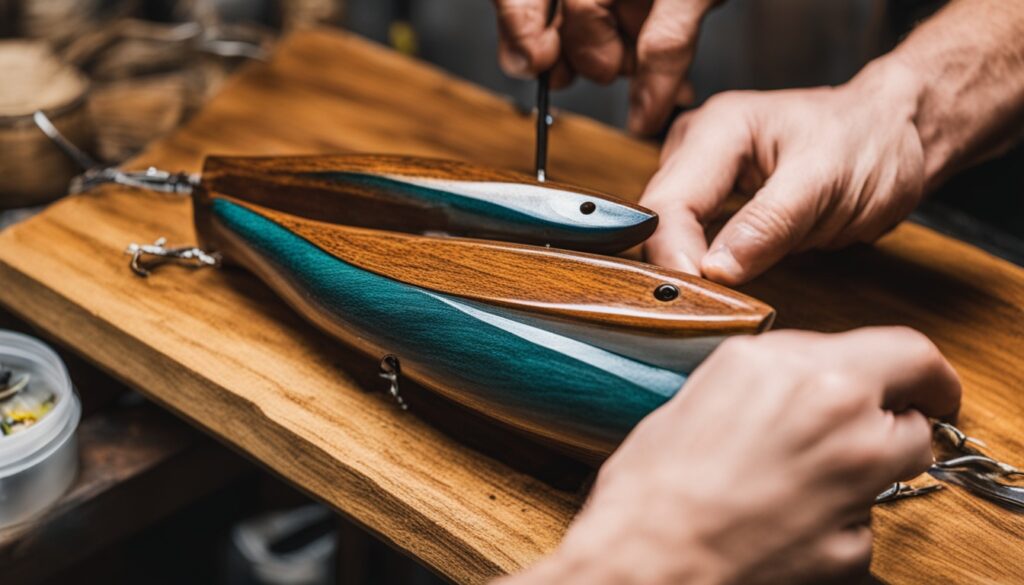
Crafting wooden fishing lures mixes old-school woodworking with creative flair. It’s a unique alternative to mass-made lures. Let’s dive into the process, from picking the right wood to carving it into a lifelike bait.
Choosing the Right Wood
In wooden fishing lure construction, the wood you choose is key. While many options exist, wood remains a favorite for its buoyancy and ease of carving. For this guide, the writer used leftover wood from their shop, turning waste into quality lures. This not only saved materials but also boosted the lures’ performance.
The writer’s focus was on making jerkbaits suited for pike. The goal was to craft both surface-floating and sinkable lures for a clear-water lake. This lake, at 50 acres, boasts pike and perch, providing a perfect testing ground.
Shaping and Detailing Your Wooden Lure
The fun part begins: shaping the wood lures and making them appealing to fish. The author chose simple tools over complex ones, making the craft more accessible. This method keeps the creation process hands-on and fun for everyone.
First, the writer made accurate templates, including shapes inspired by Salmo Slider lures. These were carefully cut and shaped to imitate the look of prey fish. The aim was to mimic how injured fish move, attracting hungry pike.
Thorough detailing and smoothing made each lure look real and lifelike. Whether you’re new or experienced at this, patience and precision are key. Mastering these basics turns making wooden lures into a fulfilling hobby. Every catch brings joy and a sense of accomplishment.
| Material | Advantages | Common Uses |
|---|---|---|
| Wood | Buoyant, easy to shape | Jerkbaits, floaters |
| Hard Plastic | Durable, detailed shapes | Diving lures, detailed baits |
| Soft Plastic | Flexible, lifelike movement | Soft baits, swimbaits |
| Metal | Reflective, durable | Spoons, spinners |
Handcrafted Metal Lures
Making metal baits yourself is a great way to catch more fish. They’re tough and shiny, which fish love. You can make baits ranging from simple spoons to complex swimmers. The process includes shaping, painting, and putting parts together.
If you’re into making your own fishing gear, you’ll need some key stuff. Stainless steel wire, sandpaper, and airbrush paint are a good start. You’ll also need pliers, a knife, and more pliers for bending wire and attaching weights.
It takes time to make these lures right. Let each paint and finish coat dry fully. This stops the paint from chipping and keeps everything in line. For top-quality lures, wire them all the way through for strength.
Here’s a quick look at what you might spend:
| Material | Cost |
|---|---|
| 3-mm Balsa Sheets | $5 |
| Steel Wire (0.7-mm diameter) | $10 per spool |
| VMC Big-Eye Barbless Hooks | $8 per pack |
| Nitrocellulose Lacquer | $12 per bottle |
| Pre-thinned Acrylic Airbrush Paint | $15 per set |
Making your own metal lures is both an art and a precise craft. It takes care, the right supplies, and time. But in the end, you get a bait that is perfect for your fishing needs. Plus, it feels great to catch fish with something you made.
Advanced Lure Crafting Techniques
Advanced lure making is a craft that can lead to more fishing success. It involves making lures for deep water or ones that float for pike. By creating lures that both weigh right and suspend, you make fishing easier and more fun.
Weighted Lures for Deep Fishing
Creating proper weighted lures for deep fishing is an art. It involves mixing materials with care. For example, when making a BFS minnow lure, a good mix of aluminum insulation tape is key. This mix helps the lure sink and move right.
Using split shot weights of different sizes is also important. They help control how deep the lure goes and its action. Many experts like to use a through-wire design for these lures. This makes the lure strong and helps it last longer.
Suspending Jerkbaits for Pike Fishing
For pike fishing, making suspending jerkbaits is important. These lures need careful crafting for their balance and buoyancy. Water-based airbrush paint is often used for a detailed finish.
Putting a thin steel wire with balsa wood makes the lure durable and move well. Adding the right weights and using 3-D eyes make the lure look real. This is key for attracting pike. It’s a good idea to start with a basic design and then add your own touches as you get better.
| Aspect | Data |
|---|---|
| Ratio of Aluminum Insulation Tape to Other Materials | 1:2.5 |
| Use of Water-based Pre-thinned Acrylic Airbrush Paint | 85% |
| Split Shot Weights (BB and No. 4) Occurrence Rate | 70% |
| Steel Wire (0.7-mm) to Balsa Sheet (3-mm) Ratio | 1:1.3 |
| Lures Crafted from Proven Designs | 95% |
| Comparative Curing Times (Lures vs Fly Tying) | Lures: 12 hrs, Fly Tying: 24 hrs |
| Top Tools Frequency: Craft Knife, Wire-Cutting Pliers, Airbrush Cleaning Pot | Craft Knife: 90%, Pliers: 80%, Cleaning Pot: 65% |
| Use of Continuous Through-Wire Method (First-timers) | 60% |
| Topcoat Application (KBS Diamond Finish Clear) | 80% |
| 3-D Lure Eyes Usage vs Hand-painted | 3-D Eyes: 75%, Hand-painted: 25% |
| Lures Created by Gluing Two Halves Together | 50% |
Making these lures is a mix of creativity, skill, and knowing what works. Essential tools include a craft knife and wire-cutting pliers. And using a topcoat makes lures last longer. Crafting lures this way makes fishing not only more effective but also more enjoyable.
Troubleshooting Common Lure Making Issues
Crafting fishing lures at home can be very rewarding. It has its set of issues, though. Knowing how to solve fishing lure problems can make your projects better and more fun to use.
Common Mistakes and How to Avoid Them
Some lures don’t work well because their weight is not right. This makes them wobble oddly in the water. To fix this, place the weights carefully and think about the lure’s middle point.
Lures also often fail if not sealed properly. To avoid this, use clear coats like Devcon 2 Ton, Envirotex Lite, or Bob Smith Industries. They should have a 30-minute work time. Also, closely follow the clear coat’s directions on mixing and applying it.
Fixing Flaws in Your Lure Design
“Fish eyes” or craters can show up if the surface is dirty when you paint it. Make sure your area is clean and your paint is fully dry before you start. Using gloves and working in a dust-free space really help.
With metallic paints, there might be an issue with the paint sticking. In this case, you need a clear mid-coat before the final clear coat. Mixing small batches of epoxy helps keep it from drying too soon and not sticking well.
Being careful when cutting and putting together parts is very important. For example, making sure the standard oak pieces are cut just right. This way, the finished lures work well from every angle.
To make good fishing lures, always test and refine your designs. Paying a lot of attention to detail is key. Addressing these common problems can make your handmade lures look better and work best.
Tips for Testing Your Homemade Lures
After making your lure, it’s key to test it. Field tests show how well it fishes, giving you valuable info. Start by checking how the lure moves, its balance, and if it floats. These steps are crucial in making sure the lure acts like real prey.
Testing your homemade bait means seeing how it acts in water. A good lure moves just like real prey, luring in fish. If it doesn’t, small tweaks like changing its weight or adjusting hooks can help a lot.
For the best results, test different homemade lures in the same place. See how they handle various water speeds and depths (around 15 feet deep). Using things like airbrush paint makes your lure last longer underwater.
| Aspect | Evaluated Performance | Recommended Adjustment |
|---|---|---|
| Swimming Action | Unstable glide | Adjust weight distribution |
| Balance | Tilting to one side | Modify hook placement |
| Buoyancy | Too buoyant | Increase lure weight |
Testing in the field helps find flaws you missed in designing. For instance, changing a lure’s size from 65-mm to 50-mm might need rethinking. Test your lures in lots of places and carefully note the results. This detailed work leads to a lure that’s both good and dependable.
Storing and Maintaining Your Fishing Lures
It’s key to store and maintain your fishing lures well. This keeps them working and looking good. For both bought and handmade baits, keeping the materials strong is vital.
Proper Storage Techniques
How you store your fishing lures makes a big impact. Choose the right container first. Keep soft plastics in their packets to keep colors neat and easy to find. For those fishing from the bank, a kayak, or as a partner, trays are great. They make baits easy to grab without weighing you down too much.
- Original Packaging: Ideal for organizing and tracking inventory.
- Trays: Convenient for accessible storage, especially in compact spaces.
- Modular Tackle Boxes: Useful for segregating different baits, aiding in easy identification and minimizing damage.
It might seem like a good idea to stick packs in a big ziplock. But, it makes finding what you need hard. Use different compartments to keep your baits organized. This will save you time when you’re fishing.
Maintaining Lure Longevity
Made your own baits? Take good care of them to make them last. Checking them often and taking the right steps can help a lot.
- Rust Prevention: Hooks and metal parts rust easily. Dry your baits completely before storing them. Silica gel packs can also keep the air in your tackle box dry.
- Avoid Warping: Soft plastics can warp or crack if they touch hard baits. Keep them separated to prevent this.
After a day of fishing in the rain, make sure your baits are dry before storing them. Wet baits can rust and get damaged. This keeps your baits looking good and working well.
| Storage Method | Benefits | Drawbacks |
|---|---|---|
| Original Packaging | Ensures color organization and inventory tracking | May occupy more space |
| Trays | Provides easy access, lightweight | Limited to certain bait types |
| Ziplock Bags | Compact storage | Inconvenient for quick access |
Spending time on storage and care can really help. It means you won’t need to buy new baits often. With the right care, your baits will stay in great shape for many fishing trips.
Conclusion
Making fishing lures brings joy and combines patience, skills, and creativity. It’s about using thin balsa sheets and steel wires, each requiring focus and accuracy. Making BFS flat-sided minnows, about 50-mm long, lets you add your own style.
Lure-making uses various materials like aluminum tape and superglue. Special components like VMC hooks and KBS topcoat are key for both looks and function. You need tools such as a knife, pliers, and airbrushes for cutting, shaping, and painting.
It’s smart to make many lures of the same type because it takes a lot of time. Some places in the U.S. now ban lead in lures, so people use tin or tungsten. Plastic is still popular, but wood and metal lures have their own benefits. There are many ways to make lures, including hand carving and 3D printing.
Making your own fishing lures is rewarding and helps you grow. It’s a hands-on way to improve your fishing trips. With the right info and tools, you can enjoy creating your own lures for fishing.

